Toolbox Tech: Xactimate Preferences
You’ve probably heard it before: “You can have it fast or you can have it good but not both.” But what if you could? In estimating, the way to get both speed and accuracy is through efficiency. That’s where Preferences come in. Think of them like engineering controls, but for Xactimate
The RIA’s AGA Academy has partnered with Xactimate Certified Trainer Brian Cole for their Toolbox Tech Series to review preferences in Xactimate and list some of the ways you can use these tools to your advantage.
Project Preferences (Profile in Xactimate Online)
These preferences include Personnel, Reports, Administrative, and Loss settings that will save time and provide consistency in your estimates.
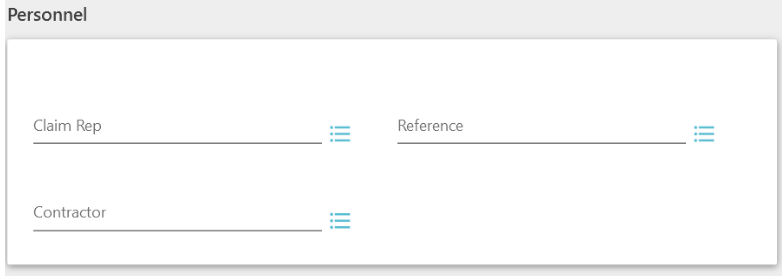
The Personnel options rotate between Claim Rep, Reference, and Contractor depending on the profile you have selected. Reference is the only option in Personnel that exists across all profiles and can be used to include a sales representative, project manager, or general manager’s contact information on an estimate.
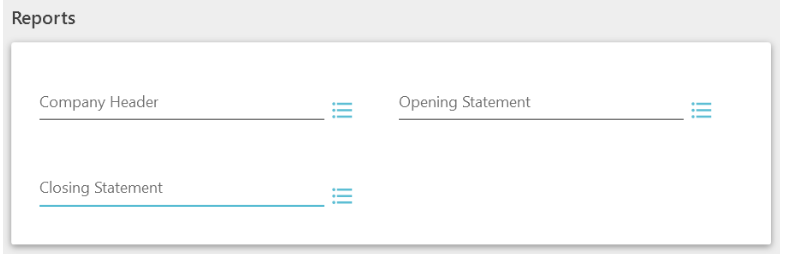
The Reports options allow you to pre-select a company header or model statement for the opening and closing of the estimate. One way to make your opening and closing statements more efficient is to utilize Tokens. Accessible through the T tool when you add or edit a model statement, tokens will replace themselves with the corresponding piece of information. For example, the token [INSURED_P_ZIP] will insert the ZIP code selected for a project into the printed report.
The Loss options allow you to pre-select an area or type of loss. If you usually prepare estimates in a particular state or city, having that information pre-populated will save time and may mitigate embarrassing spelling errors.

Pricing Preferences (Profile in Xactimate Online)
These preferences include Price List, Depreciation, Overhead & Profit, and Calculation settings.
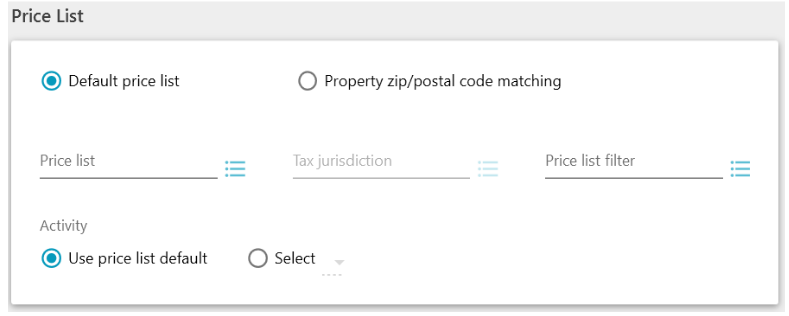
The Price List preferences allow you to make a specific price list the default or to modify the line item activity defaults. While it’s always best practice to search for a price list based on the ZIP code, changing the activity defaults is a huge time-saver for many restorers who write separate Mitigation and Reconstruction estimates. With the “Use price list defaults” option, estimators must change the activity from Remove and Replace (&) to Replace (+) on drywall, flooring, and other line items that were already removed in a mitigation estimate. Changing this default in preferences to Replace (+) saves time on every single one of these lines.
Depreciation, Overhead & Profit, and Calculation preferences allow you to save steps on the Parameters page in every estimate.
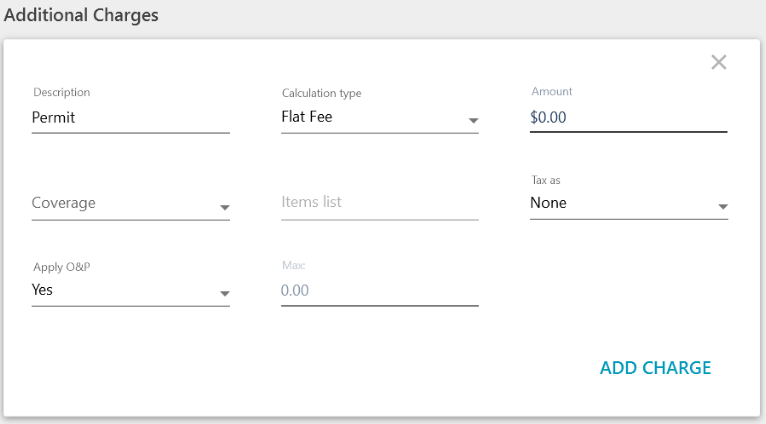
Additional Charges is one option that allows you to include flat fee or percentage-based charges in an estimate. These bid item alternatives will show up at the end of the line items and on the summary page alongside the Line Item Total, Deductible, and Depreciation.
Sketch Preferences
These allow you to make changes to a wide array of defaults in Sketch including View, Doors & Windows, some automatic calculations, and much more.
Inside the View/Edit tab, you have the ability to change the handle size of rooms, walls, and roofs; change the default rotate mode; and adjust merge and snap defaults.
Additionally, there are preferences for View Defaults that control which parts of a sketch are visible. Many of these defaults are turned off initially and probably shouldn’t be. For example:
- Show All Measurements allows all measurements to be visible in a sketch without needing to select a room.
- Display Validation will show any problems with your sketch in red.
- Show Floor Covering displays how graphically estimated floors are oriented and how the pieces are cut inside the room.

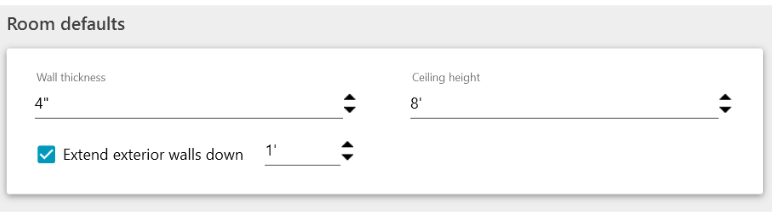
Inside the Placement tab, you can change almost every default measurement, including wall thickness, door size and style, as well as custom staircase widths.
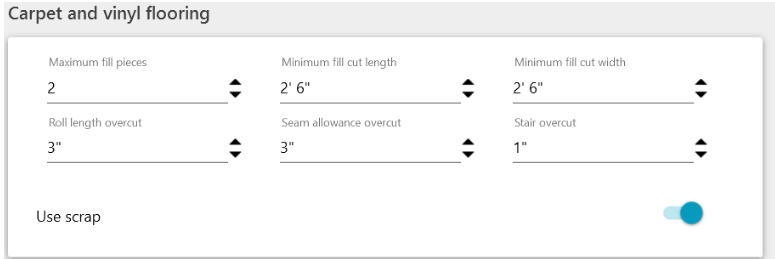
Inside the Calculations tab, you can select how Xactimate auto-calculates roof waste, estimates carpet and vinyl flooring waste, and how reference blocks behave.
While many of these preferences are helpful on every project, some may only be relevant to specific projects. Xactimate gives us the ability to adjust some preferences on individual projects directly through Sketch. With a project open, navigate to the toolbar and select Options from the list. In the top left-hand corner, you’ll find the Preferences option, where you can make several of these selections before sketching the first room.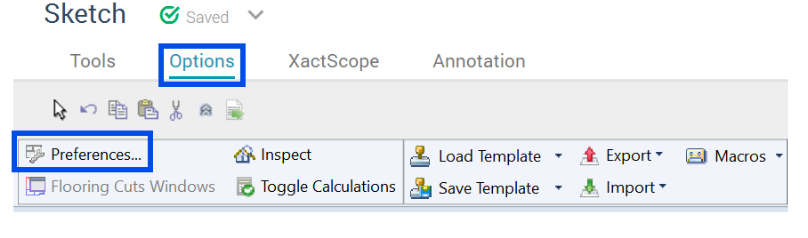
Preferences are an integral part of sketching custom staircases. A challenge you may face is when a property has complex staircases that aren’t the default 3 ft. width. Without preferences, you would need to sketch the staircase first, sometimes duplicating efforts you’ve already made. By using preferences to select the desired width ahead of time, your custom staircase is more accurate with fewer steps.
Understanding what can and should be selected in Preferences is not a one-time task. It should be something you revisit regularly. We suggest starting with a thorough review of Preferences and then, as you use Xactimate, pay attention to the tasks you repeat on most or all estimates for a month. Revisit Preferences and see if there’s an option that may save you time.